")
")
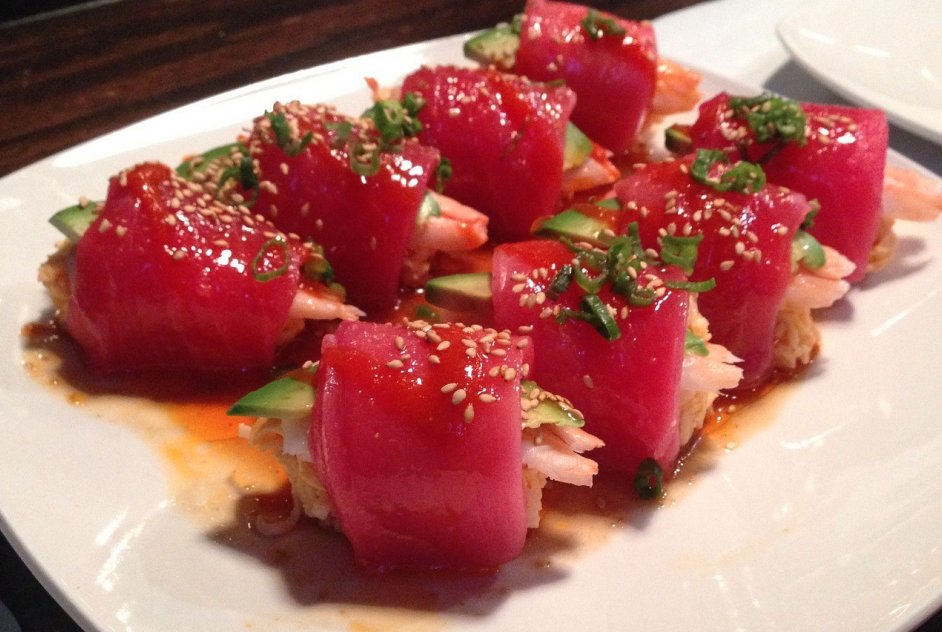
Bluefin tuna can be worth a lot of money, but only when properly handled to maintain quality and appearance. How you handle your fish will influence how much it’s worth and how willing dealers are to buy your catch; and they can easily recognize when fish have been improperly handled.
As we try to build a more robust domestic market it’s also important to be mindful of food security—the public health concern. The news of just one fish that made people sick will spread quickly and could have serious consequences on our market. We need to reduce the chances of this occurring any way we can.
Boat size, sea conditions or crew capabilities may limit what you can do, but you should try to follow the steps in this manual to the maximum extent possible. The most important things are to minimize physical damage, bleed the fish and keep it cool and moist.
Bluefin tuna are endothermic or “warm-blooded,” meaning they can regulate their internal body temperature to keep it higher than surrounding water temperature. When hooked, they generate more heat during the battle, and it can take a long time to lower their internal temperature.
Warm, moist conditions create the ideal environment for the growth of bacteria and other toxins. Tuna is often eaten raw, and improper handling can lead to outbreaks of E-coli, salmonella, staphylococcus and norovirus.
Unlike many other fish, scombrids (tuna and mackerel) contain an amino acid called histadine. If the fish are not properly cared for, bacteria multiply and turn this histadine into scombrotoxin, which can cause a severe allergic reaction when it is consumed.
When a fish experiences stress, its brain signals the body to flood muscles with lactic acid, cortisol and adrenaline. Core body temperature also rises. The combination of hormones and elevated temperature turns muscle tissue to mush and negatively impacts taste.
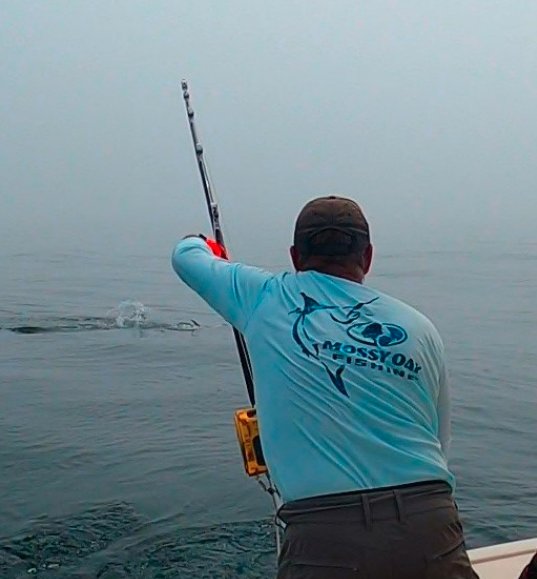
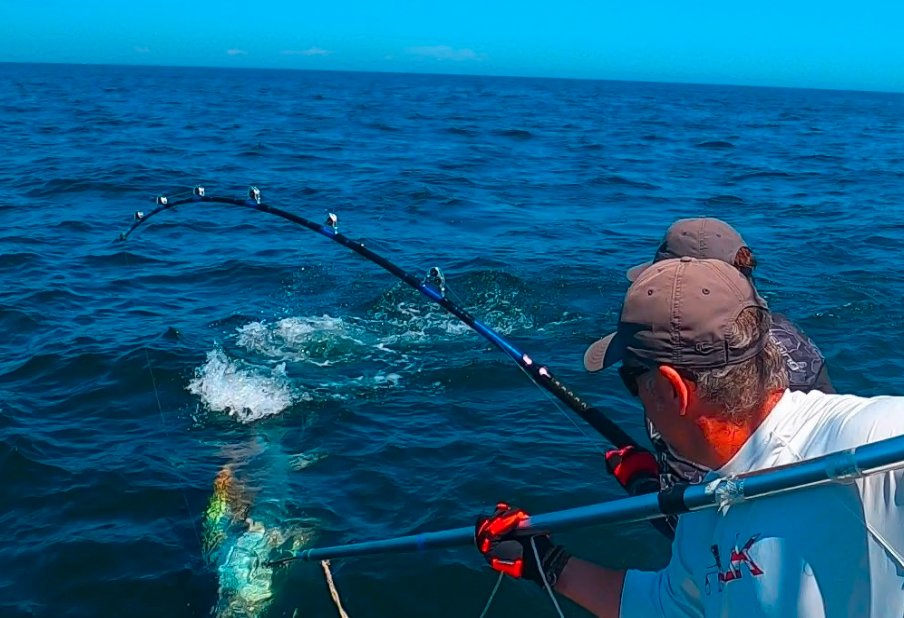
The process of proper handling actually starts with the fight. Don’t rush it. While your goal is to land the fish as quickly as possible, the longer it stays on the line, the better it is for the fish.
Longer battles—an hour or more—actually give the fish time to recover by cooling down and flushing lactic acid, which was pumped into their muscles early in the battle and reduces meat quality.
During battle, a fish can become so hot from exertion that it nearly cooks itself from the inside out, resulting in a condition called Yaki or “burnt tuna syndrome.” This, in turn, leads to poor quality meat and a lower price or possibly, no sale.
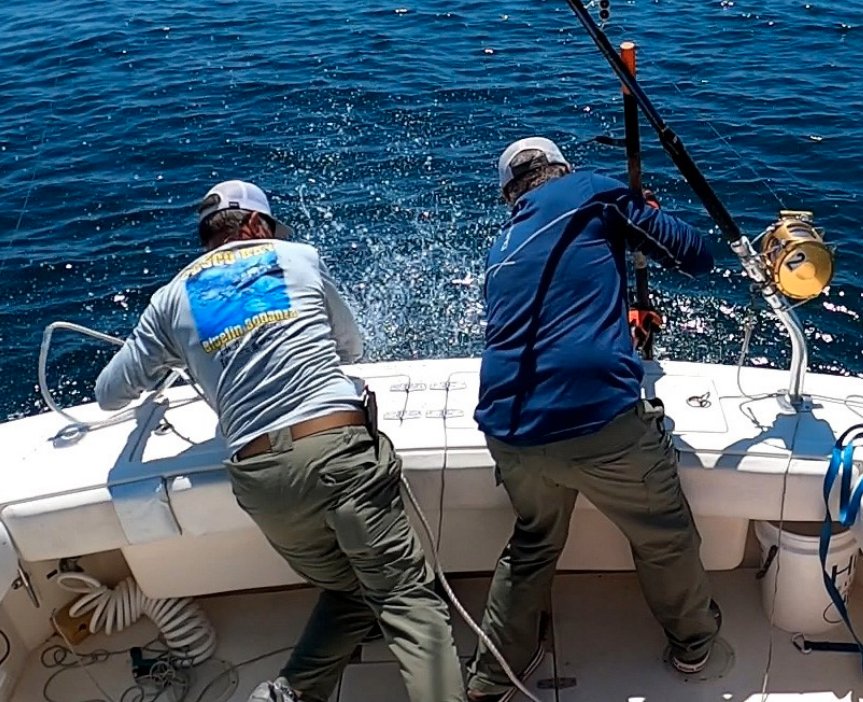
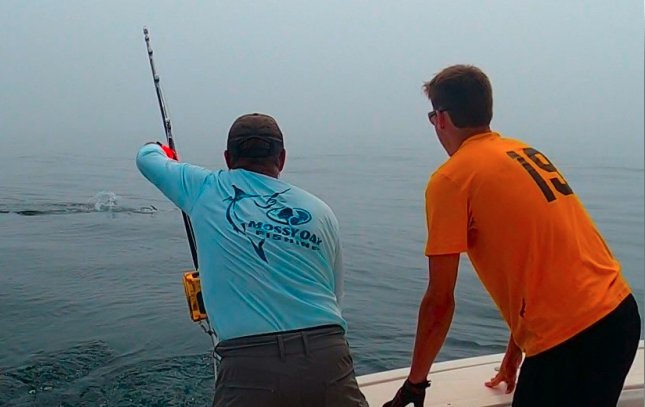
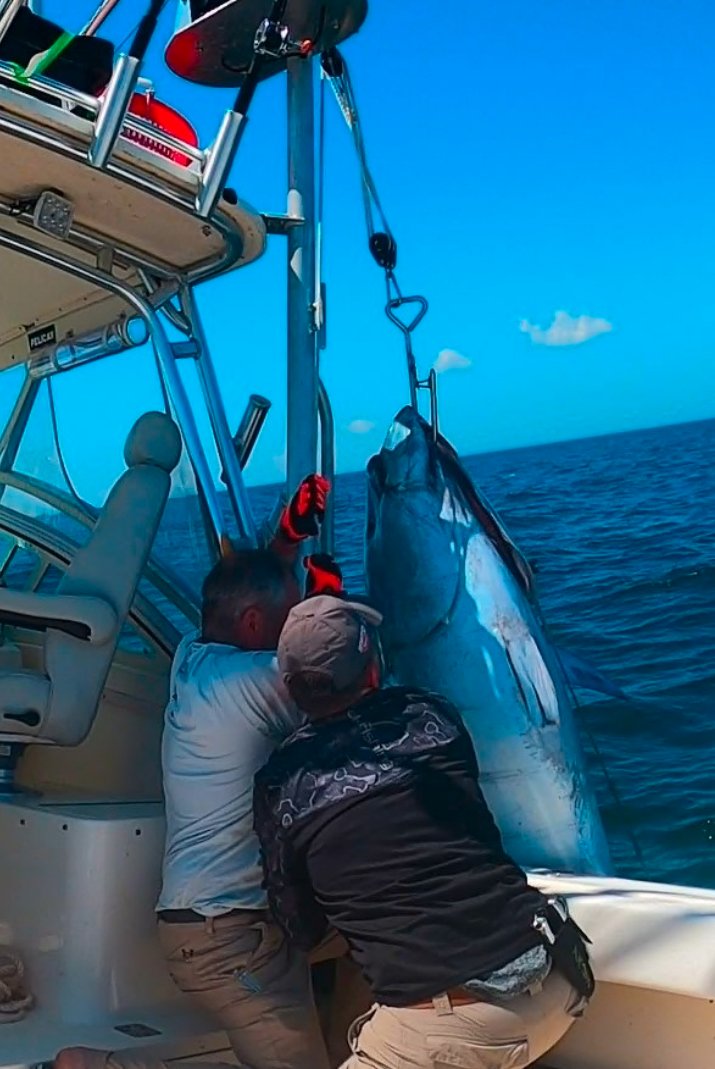
Much the same applies here. When gaffing a tuna, aim for the head and/or tail.
Never gaff the body. Try to gaff as far back on the tail as possible, as part of this will be discarded anyway.
This is one of the most important, and all too often overlooked, steps you can take.
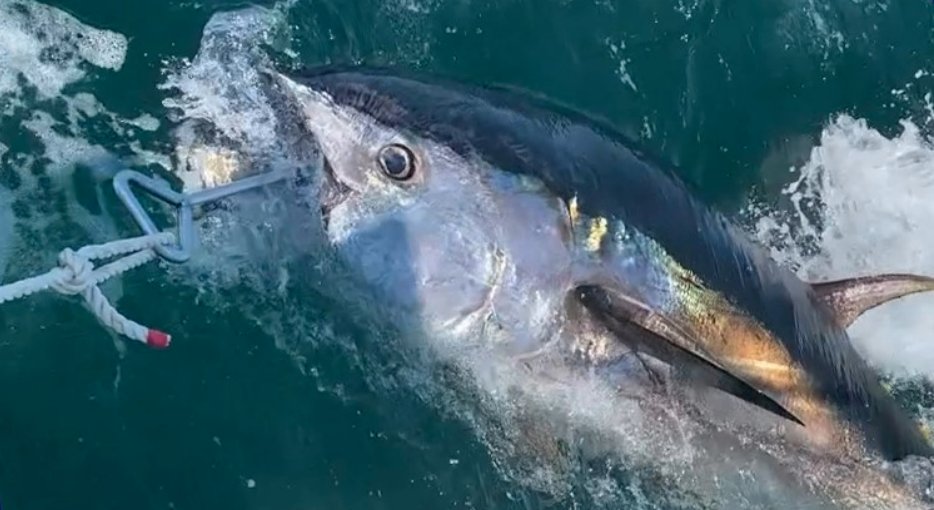
Once the fish is secured, attach a swim hook and swim the fish for at least 45 minutes to an hour. This gives the fish a chance to recover and, more importantly, cool down and flush lactic acid from its system.
Tuna must move forward, flushing oxygenated water over their gills, in order to breathe, so they should be towed head-first.
The fish must be thoroughly bled before it expires to ensure quality of the meat. This can be done with the fish in the water or in the cockpit, but it’s important the fish is thoroughly bled before the heart stops pumping.
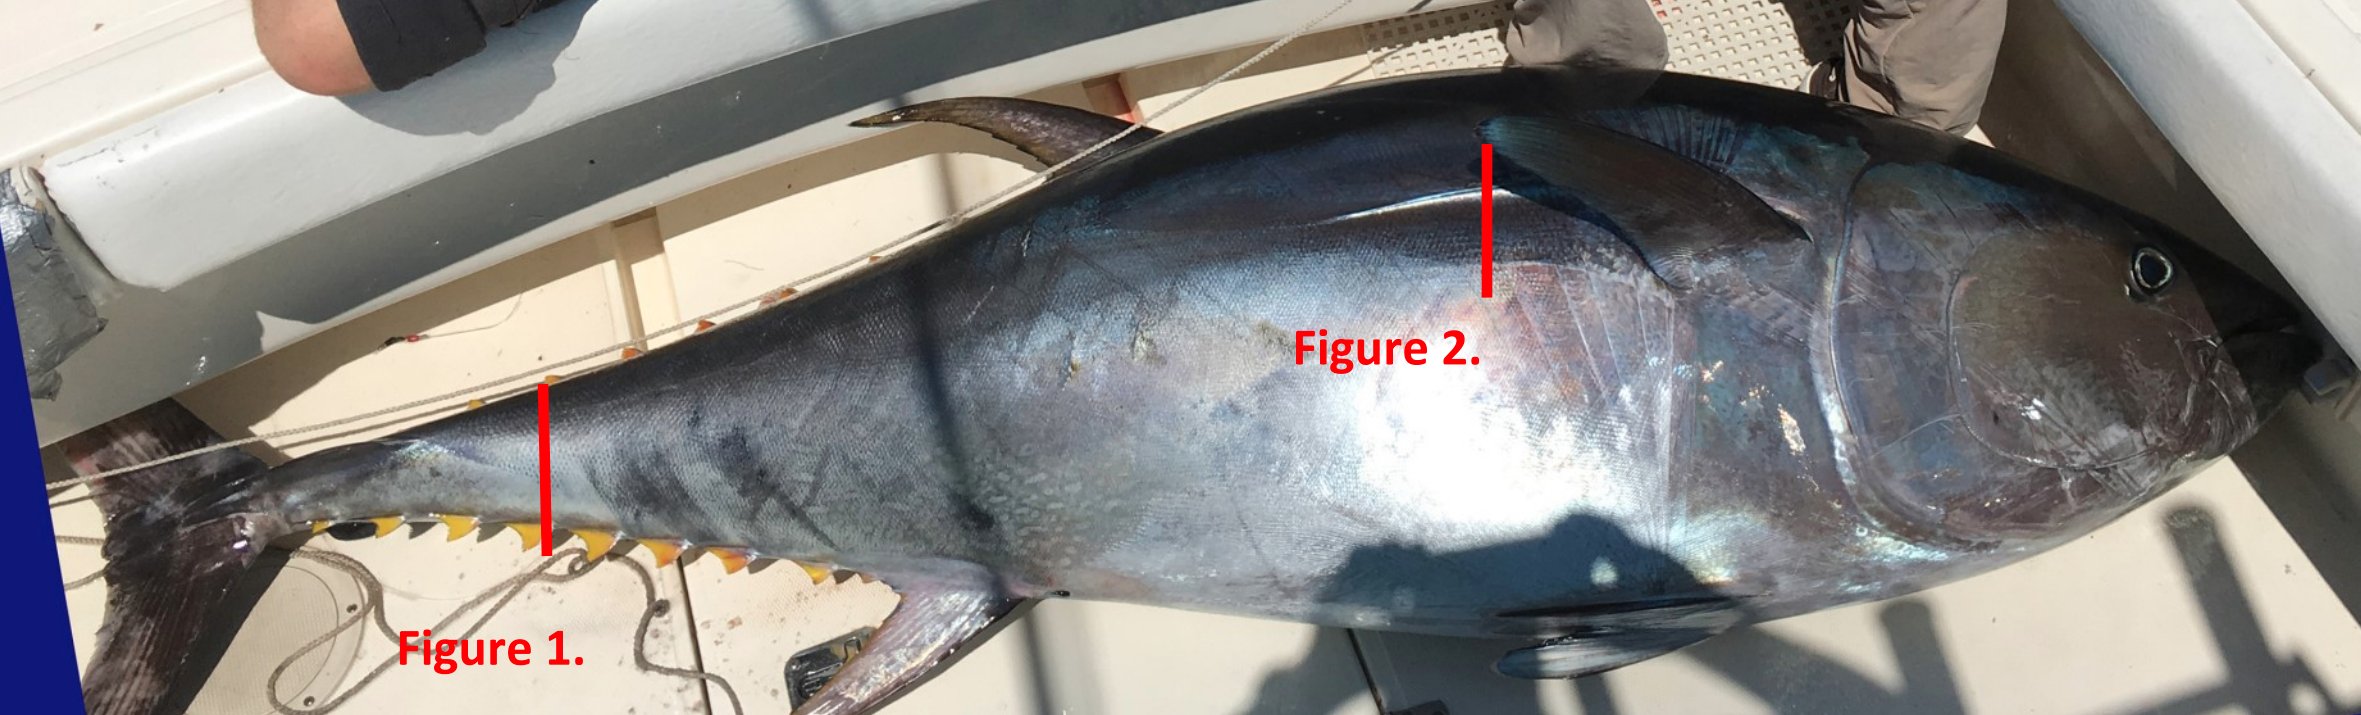
There are several ways to bleed a fish. One is to cut or rake the gills. Another is a tail cut, which you should only do if you are bleeding the fish on deck. Make a shallow cut across each side of the fish in the tail region between the 3rd and 4th dorsal finlets (Fig. 1).
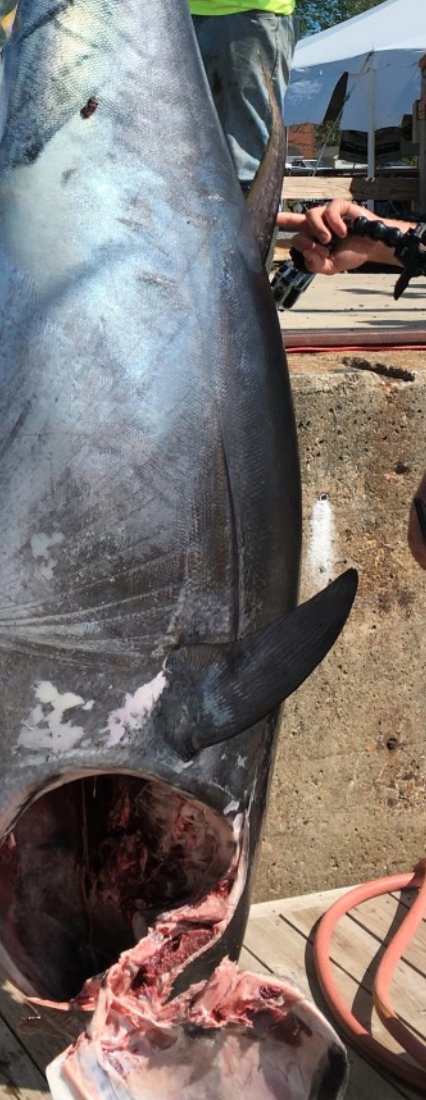
The preferred method is to lift the pectoral fin and make a vertical stab cut about one hand width behind its base, 1 to 2 inches long and 1 to 2 inches deep to cut the large artery in the mid-line of the fish (Fig. 2). Cuts should only be deep enough to sever the main artery located just under the skin in the mid-line.
Continue the process in the cockpit with what’s called Force Bleeding. This involves inserting seawater with a pressurized hose through the mouth, and in the incisions made behind the pectoral fins. Continue for several minutes until there is no longer any blood coming out.
The process of Ike Jime interrupts the tuna’s central nervous system, preventing excretion of hormones and lactic acid that occurs when the fish is stressed.
This can significantly improve meat quality.
")
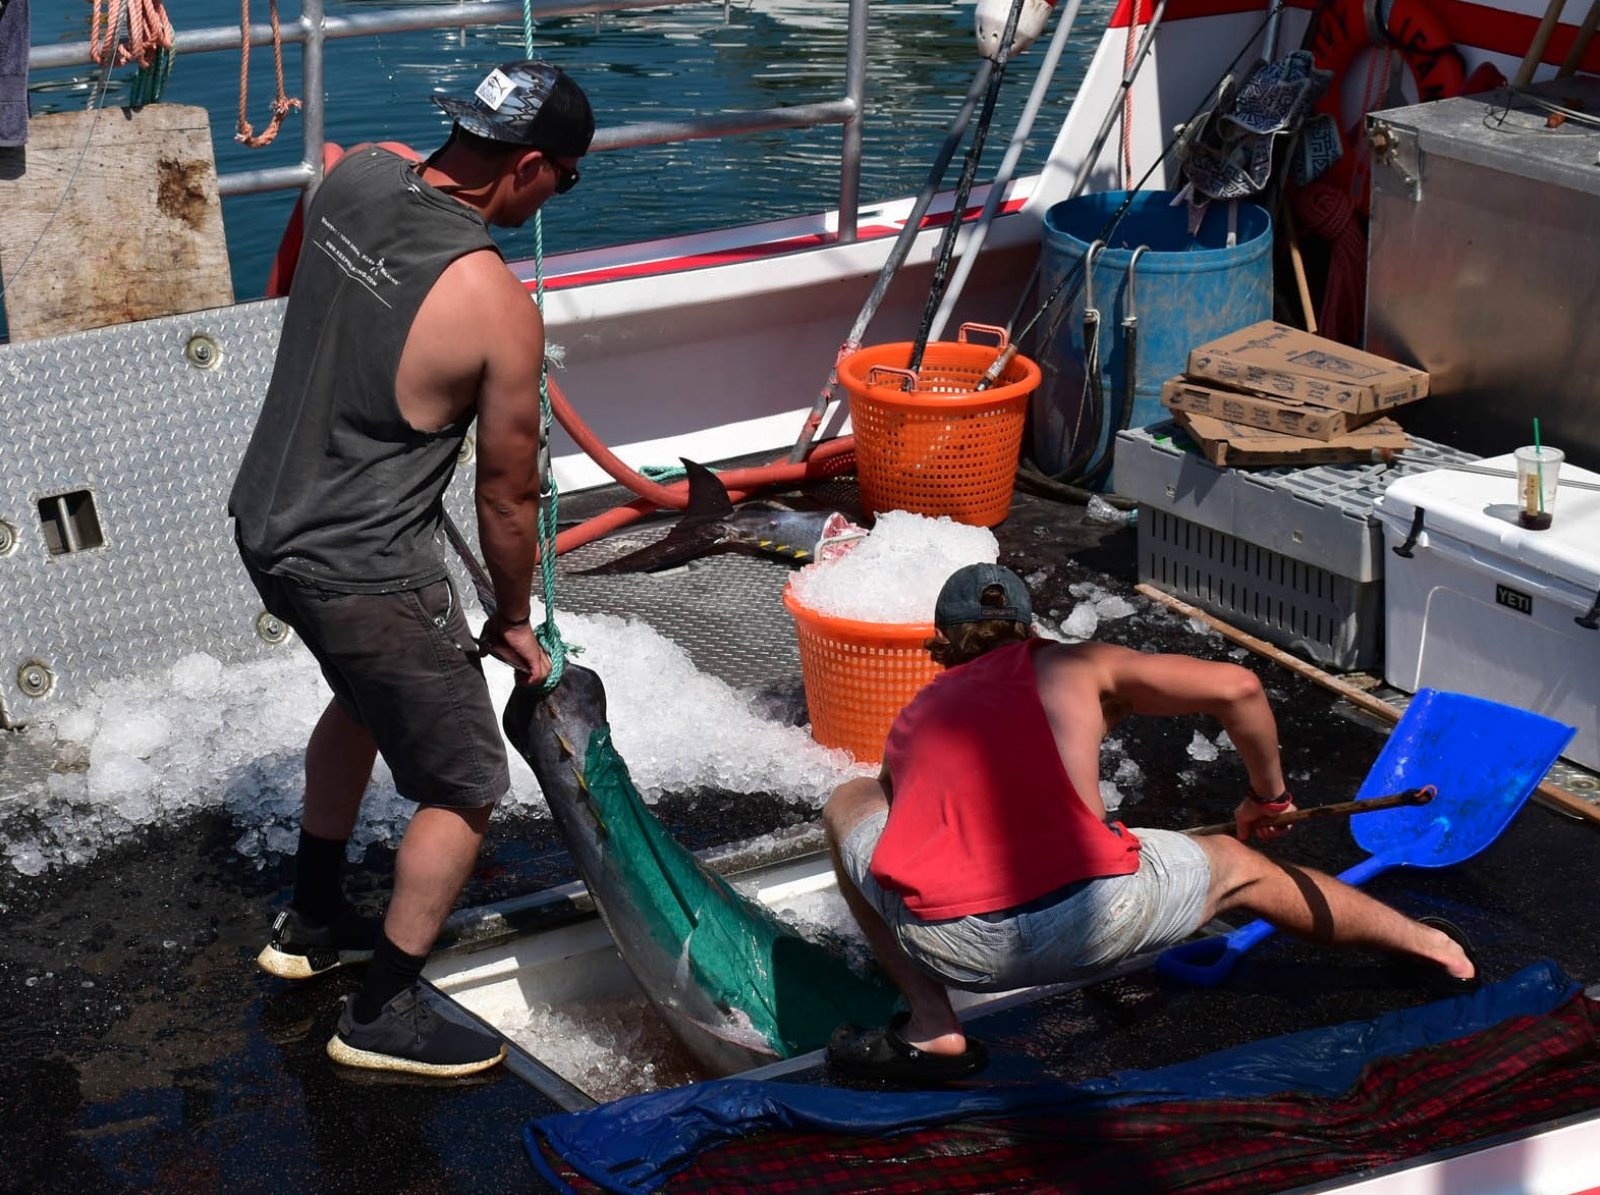
The most important point here is to minimize contact. Whether hoisting and laying on the deck, pulling through a transom door, or hauling over the rail, make sure only one side of the fish ever makes contact with the boat.
If you harpooned the fish, the dart side will be the “bad” side, and the unblemished side is the “good” side.
Once the fish has expired and been bled, you need to remove gills and entrails as soon as possible to reduce internal body temperature and potential contamination.
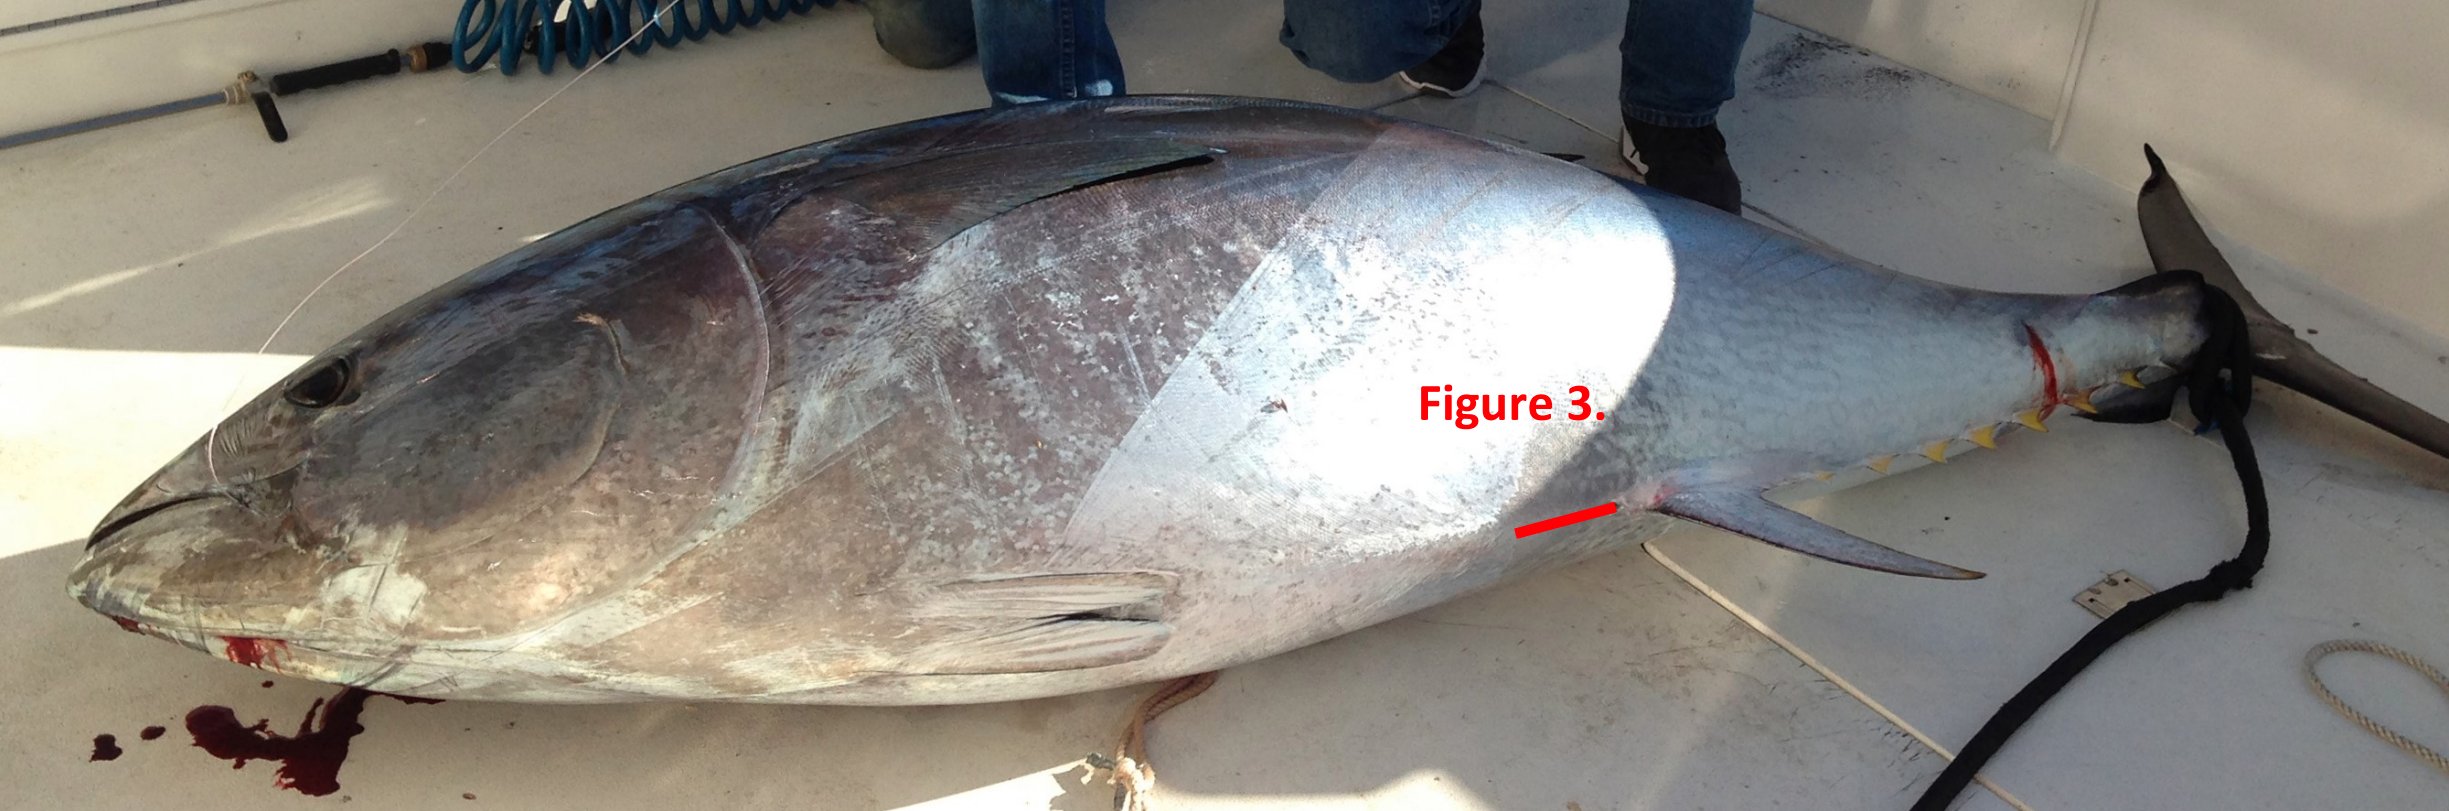
Lay the fish on its bad side, preferably on a tuna bag or padded surface and always away from any excess heat or sharp objects. Begin by making an incision starting at the anal fin and cutting not more than 4 inches forward and around the anus. The cut should be just deep enough to open the belly cavity.
Reach into the belly cavity and pull out the 3 “chords” (intestine plus 2 gonads) and cut them off near the anus, so contents do not spill in the gut cavity (Fig. 3). If you have a high-pressure deck hose, you may be able to place the hose in the belly slit and force the guts out the fish’s mouth. Otherwise, remove the guts through the gill opening after removing the gills.
If possible, continue to irrigate the fish with saltwater throughout this process, as it will help to cool the fish and remove blood, slime, and digestive juices.
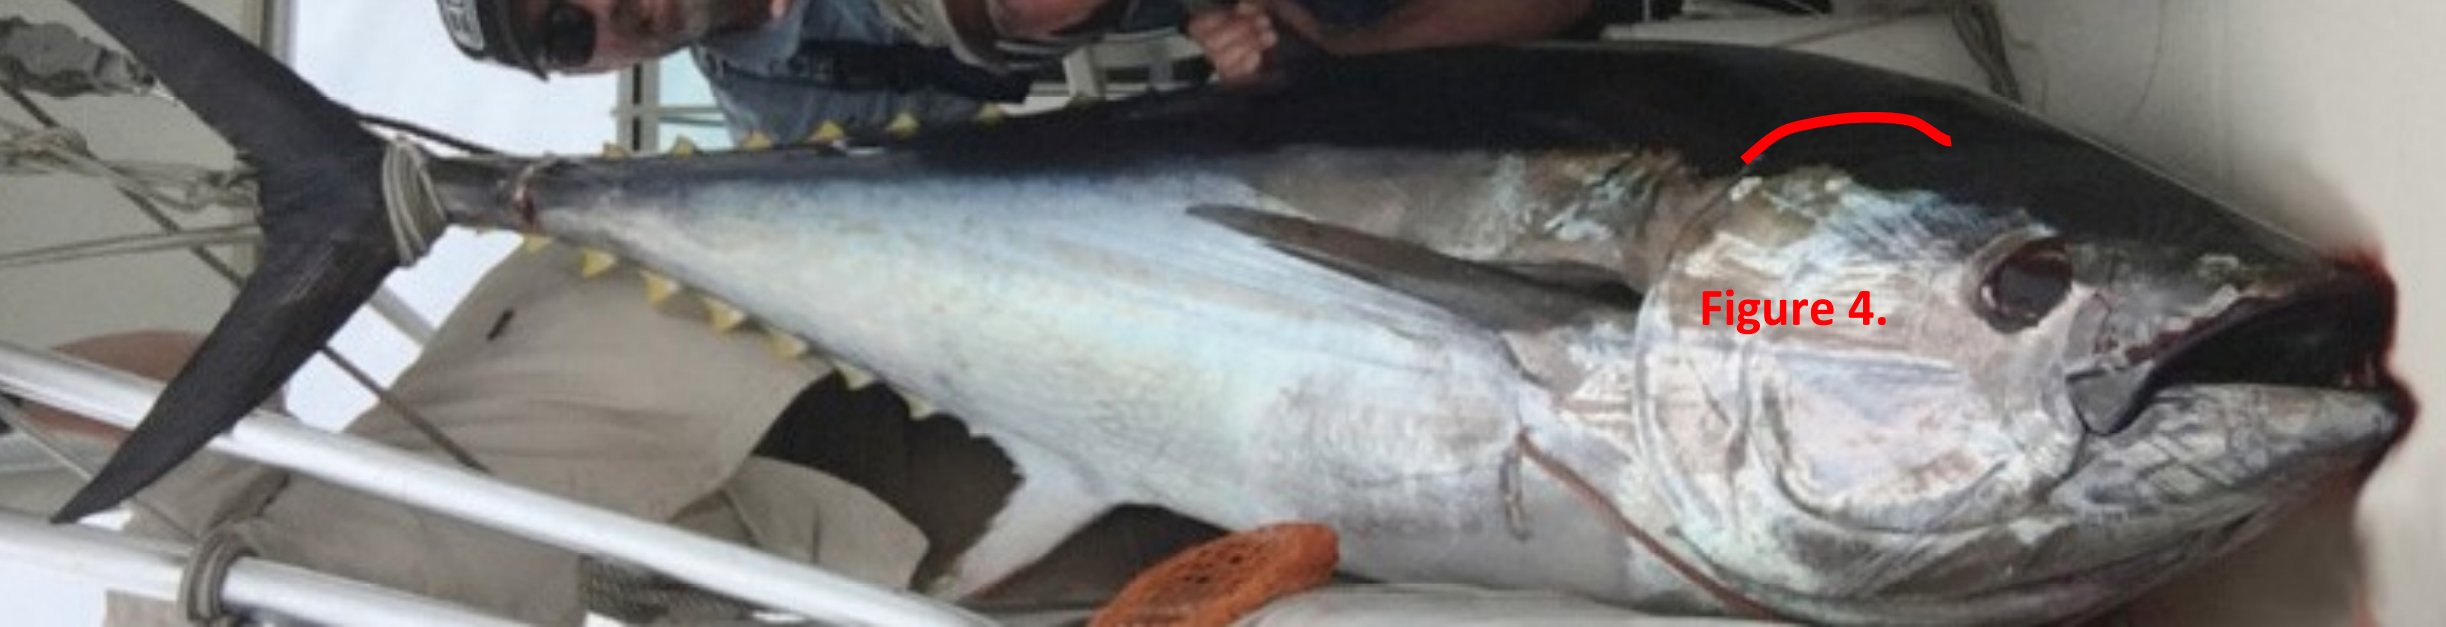
Lift the gill plate and make a cut from the top of the plate toward the eye (Fig. 4). Pull the cover back and cut the muscle attaching the gill cover to the head.
Next, cut the lower end of the gill arch connections, being careful not to cut through the throat area as this will lead to distortion of the head area when rigor mortis sets in. Cut around the gill membranes, behind the gills up and down the length of the gill opening. Be sure to leave the crescent-shaped bone behind the gill area intact.
Insert your knife under the gills, close to the spine, and cut the upper end of the attachment point. Repeat for the other side. Grab the gills and remove them and the guts with a firm pull.
Remove remaining guts, stripping membranes which attach the gonads to the body wall. Remove as much of the dark kidney along the backbone as possible by scrubbing the backbone with a stiff brush until it is white. Then flush with plenty of water to remove coagulated blood and slime.
Remove the membrane surrounding the gill collar and remove all loose skin from the gill exit. Gently clean slime from the outside of the fish.
The final and perhaps most important step is chilling the fish, and the first few hours it is out of the water are the most critical. Whether you’re 2 hours from port or only 20 minutes, the fish **must** be chilled.
If your vessel is equipped with a chill tank, submerge the fish for at least 1 hour in an ice-seawater slurry made with 2 parts ice to 1 part seawater. Then remove the fish and pack it with ice.
If you do not have a chill tank, pack the body cavity with bags of ice immediately after cleaning. Cover the “good” side with rice paper to preserve its appearance, then secure the fish in an insulated “fish” bag, making sure that any melted water can drain from the bag.
You should always consult with your tuna buyer beforehand, as their preferred handling techniques may vary somewhat.